GitHub Setup#
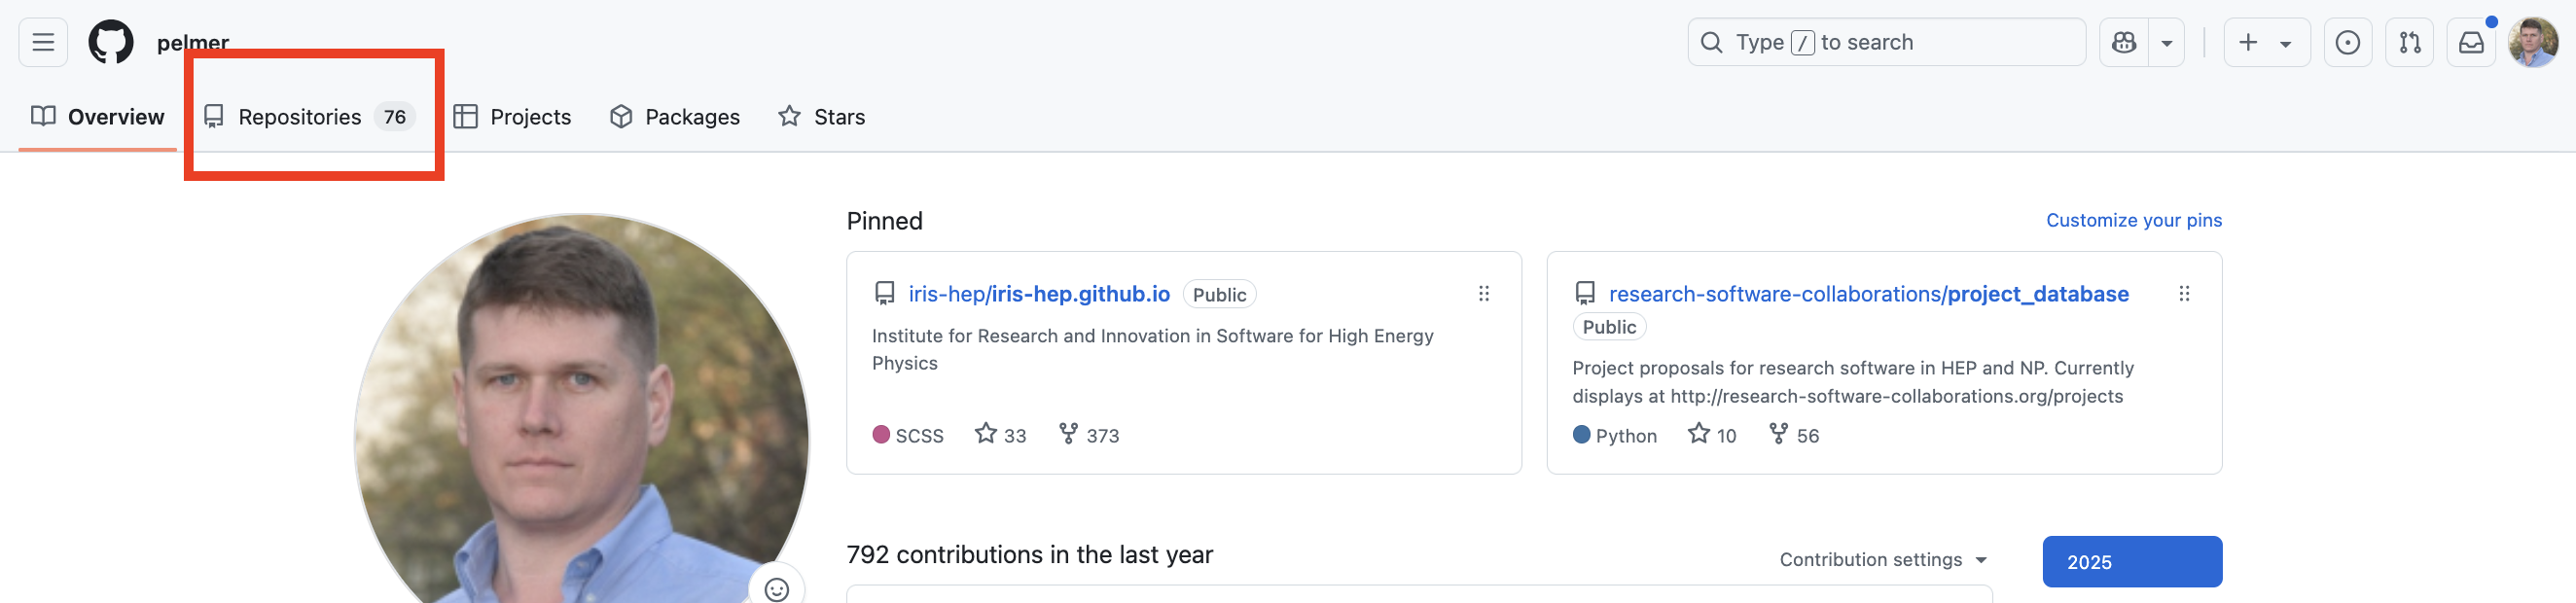
On your GitHub main page (e.g. “pelmer/” rather than “”), click on the “Repositories” link at the top of the page::
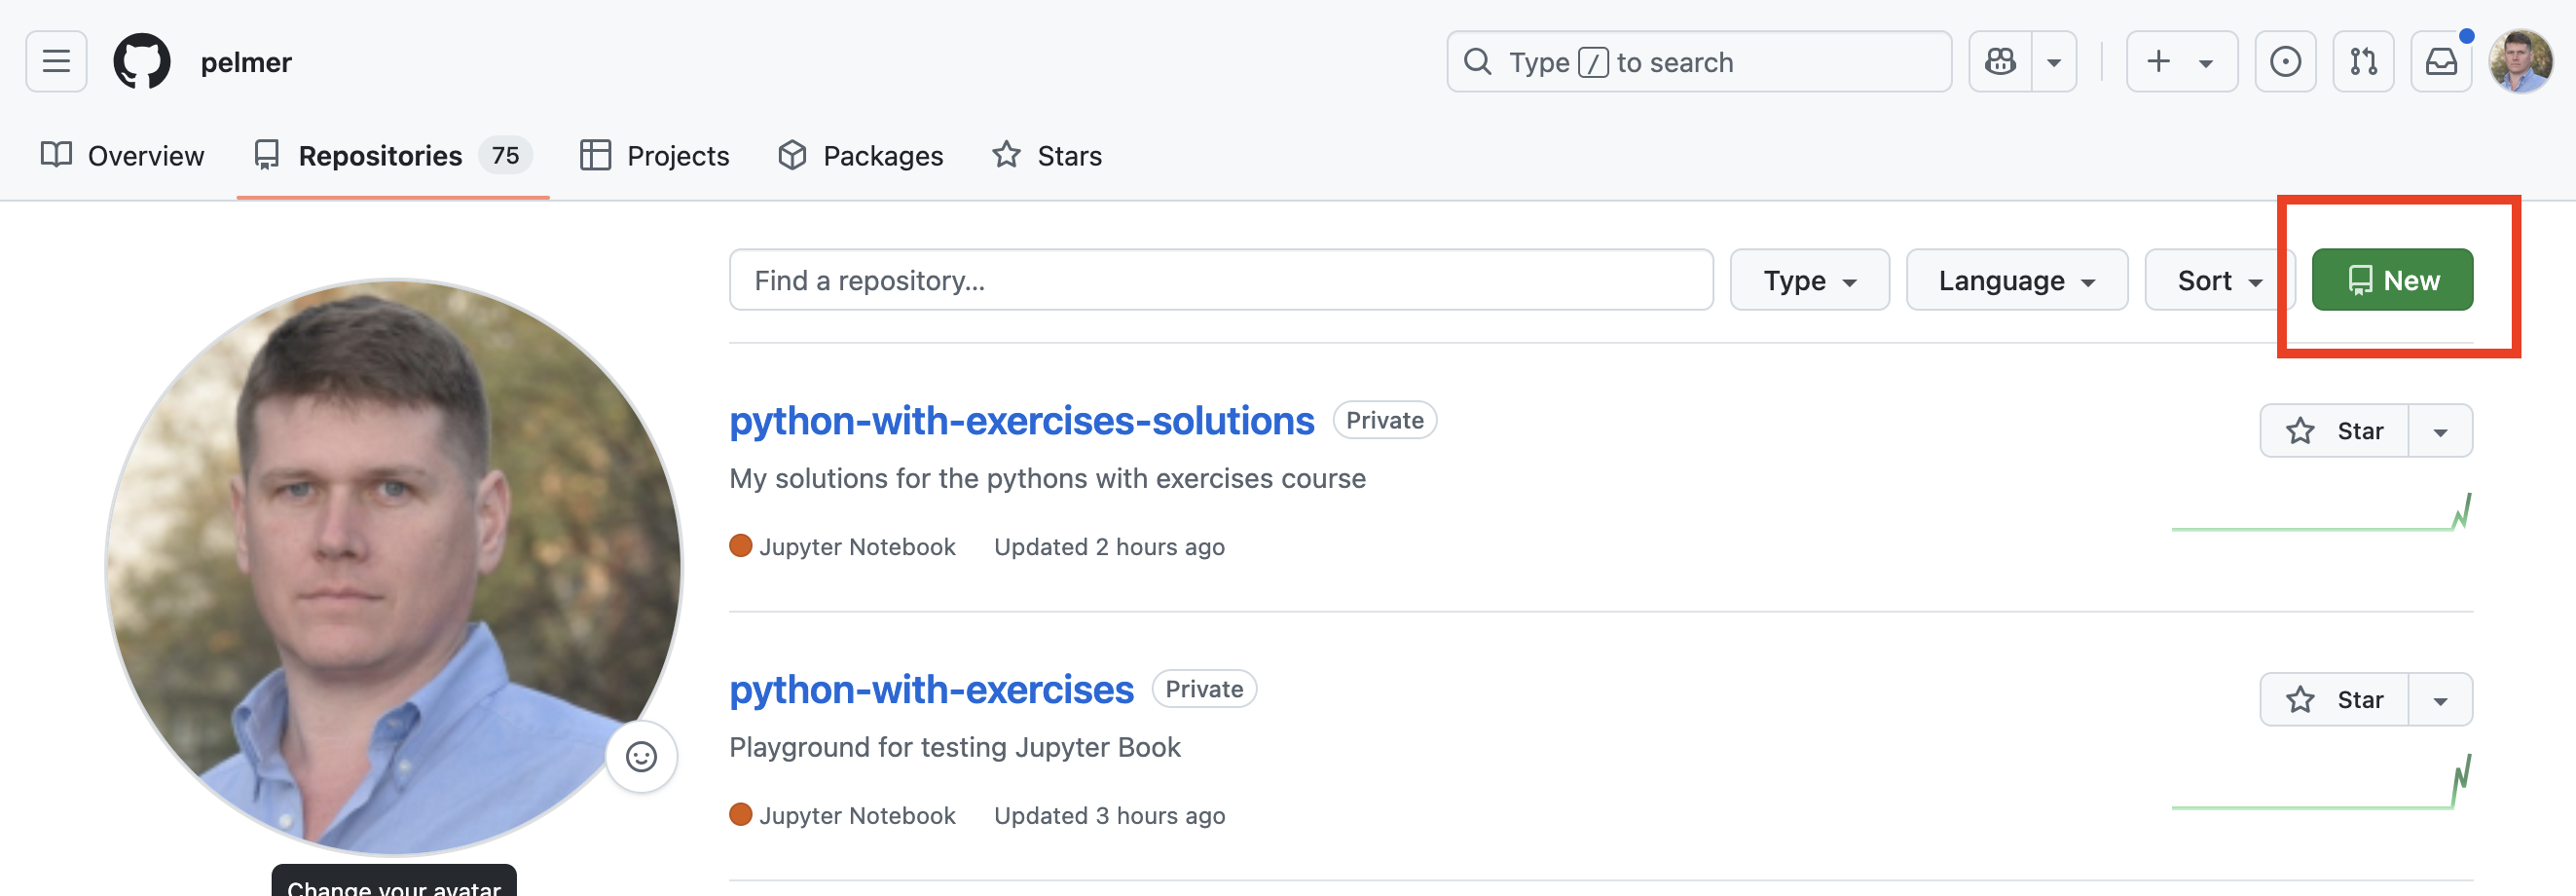
Select “New” from the upper left corner:
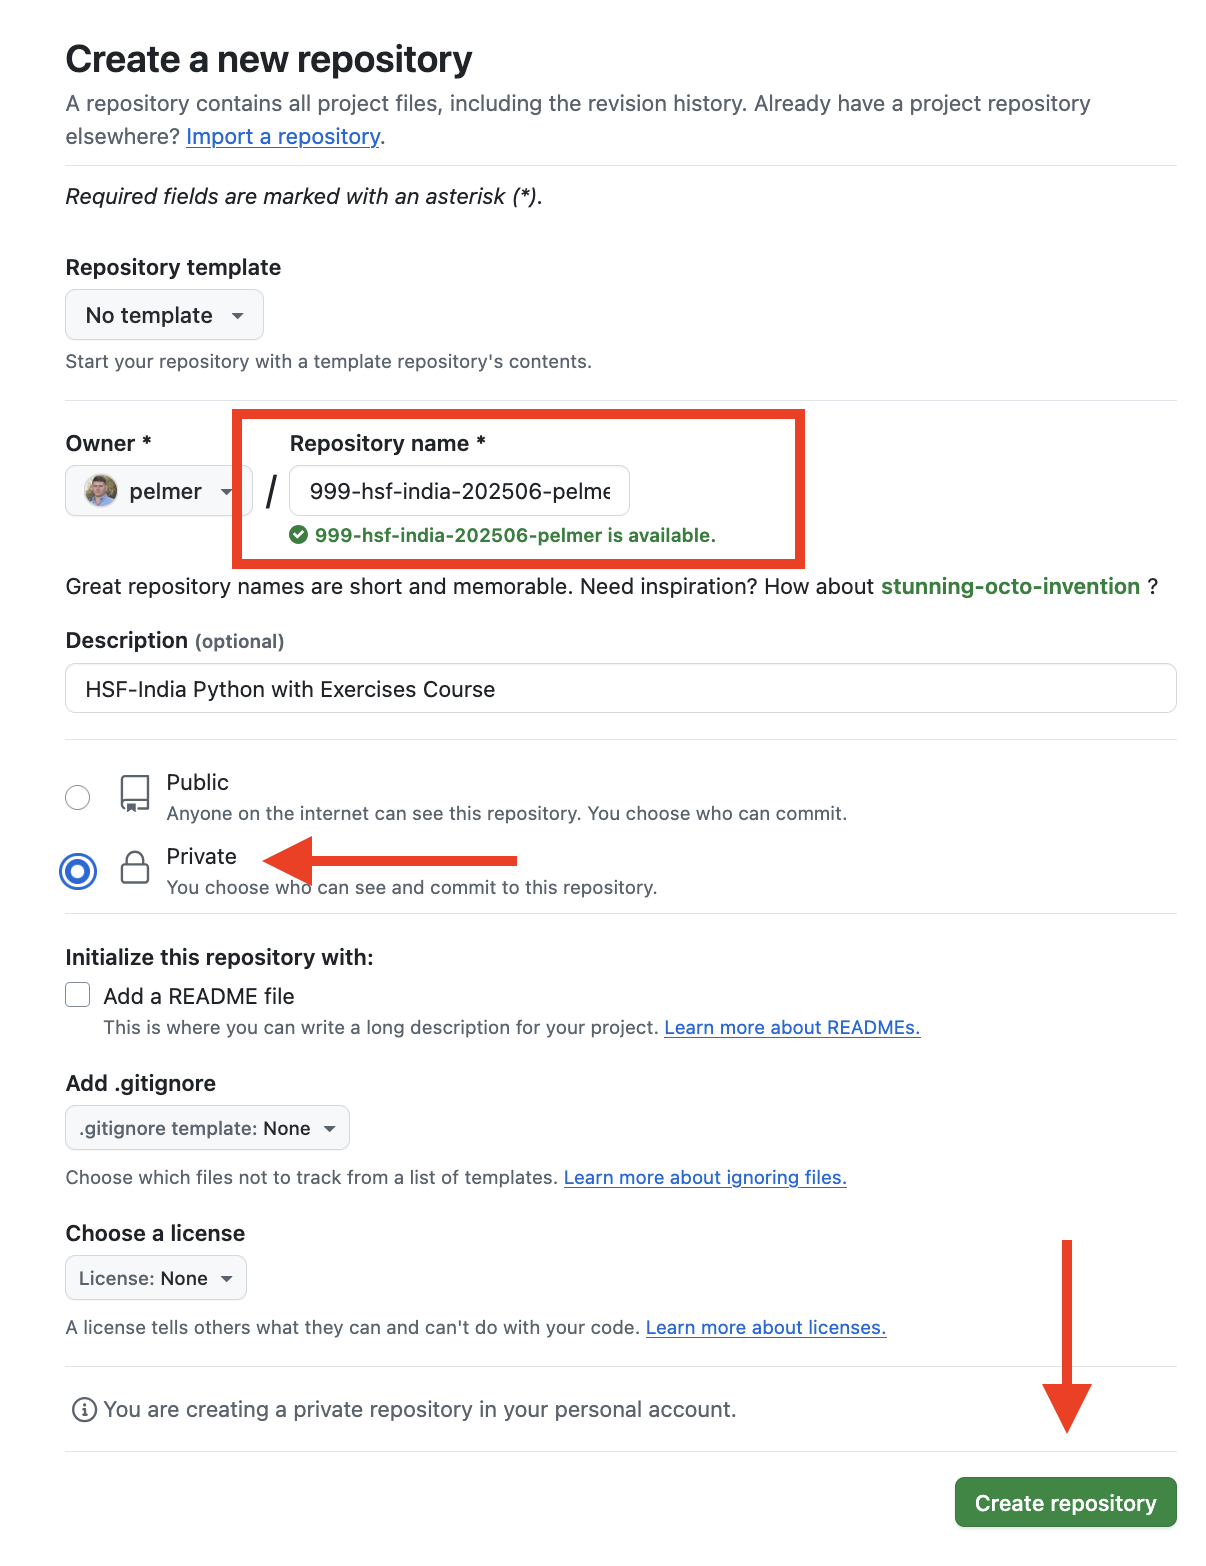
Fill in a repository name in the form NNN-hsf-india-202506-XXXXXX, where NNN is your number for the separate spreadsheet (zero-padded to 3 digits) and XXXXX is your github repo.
Choose a “Private” repo.
Do not add a README, .gitignore or license file for now.
Hit “Create Repository”.
Click “Add collaborators to this repository”
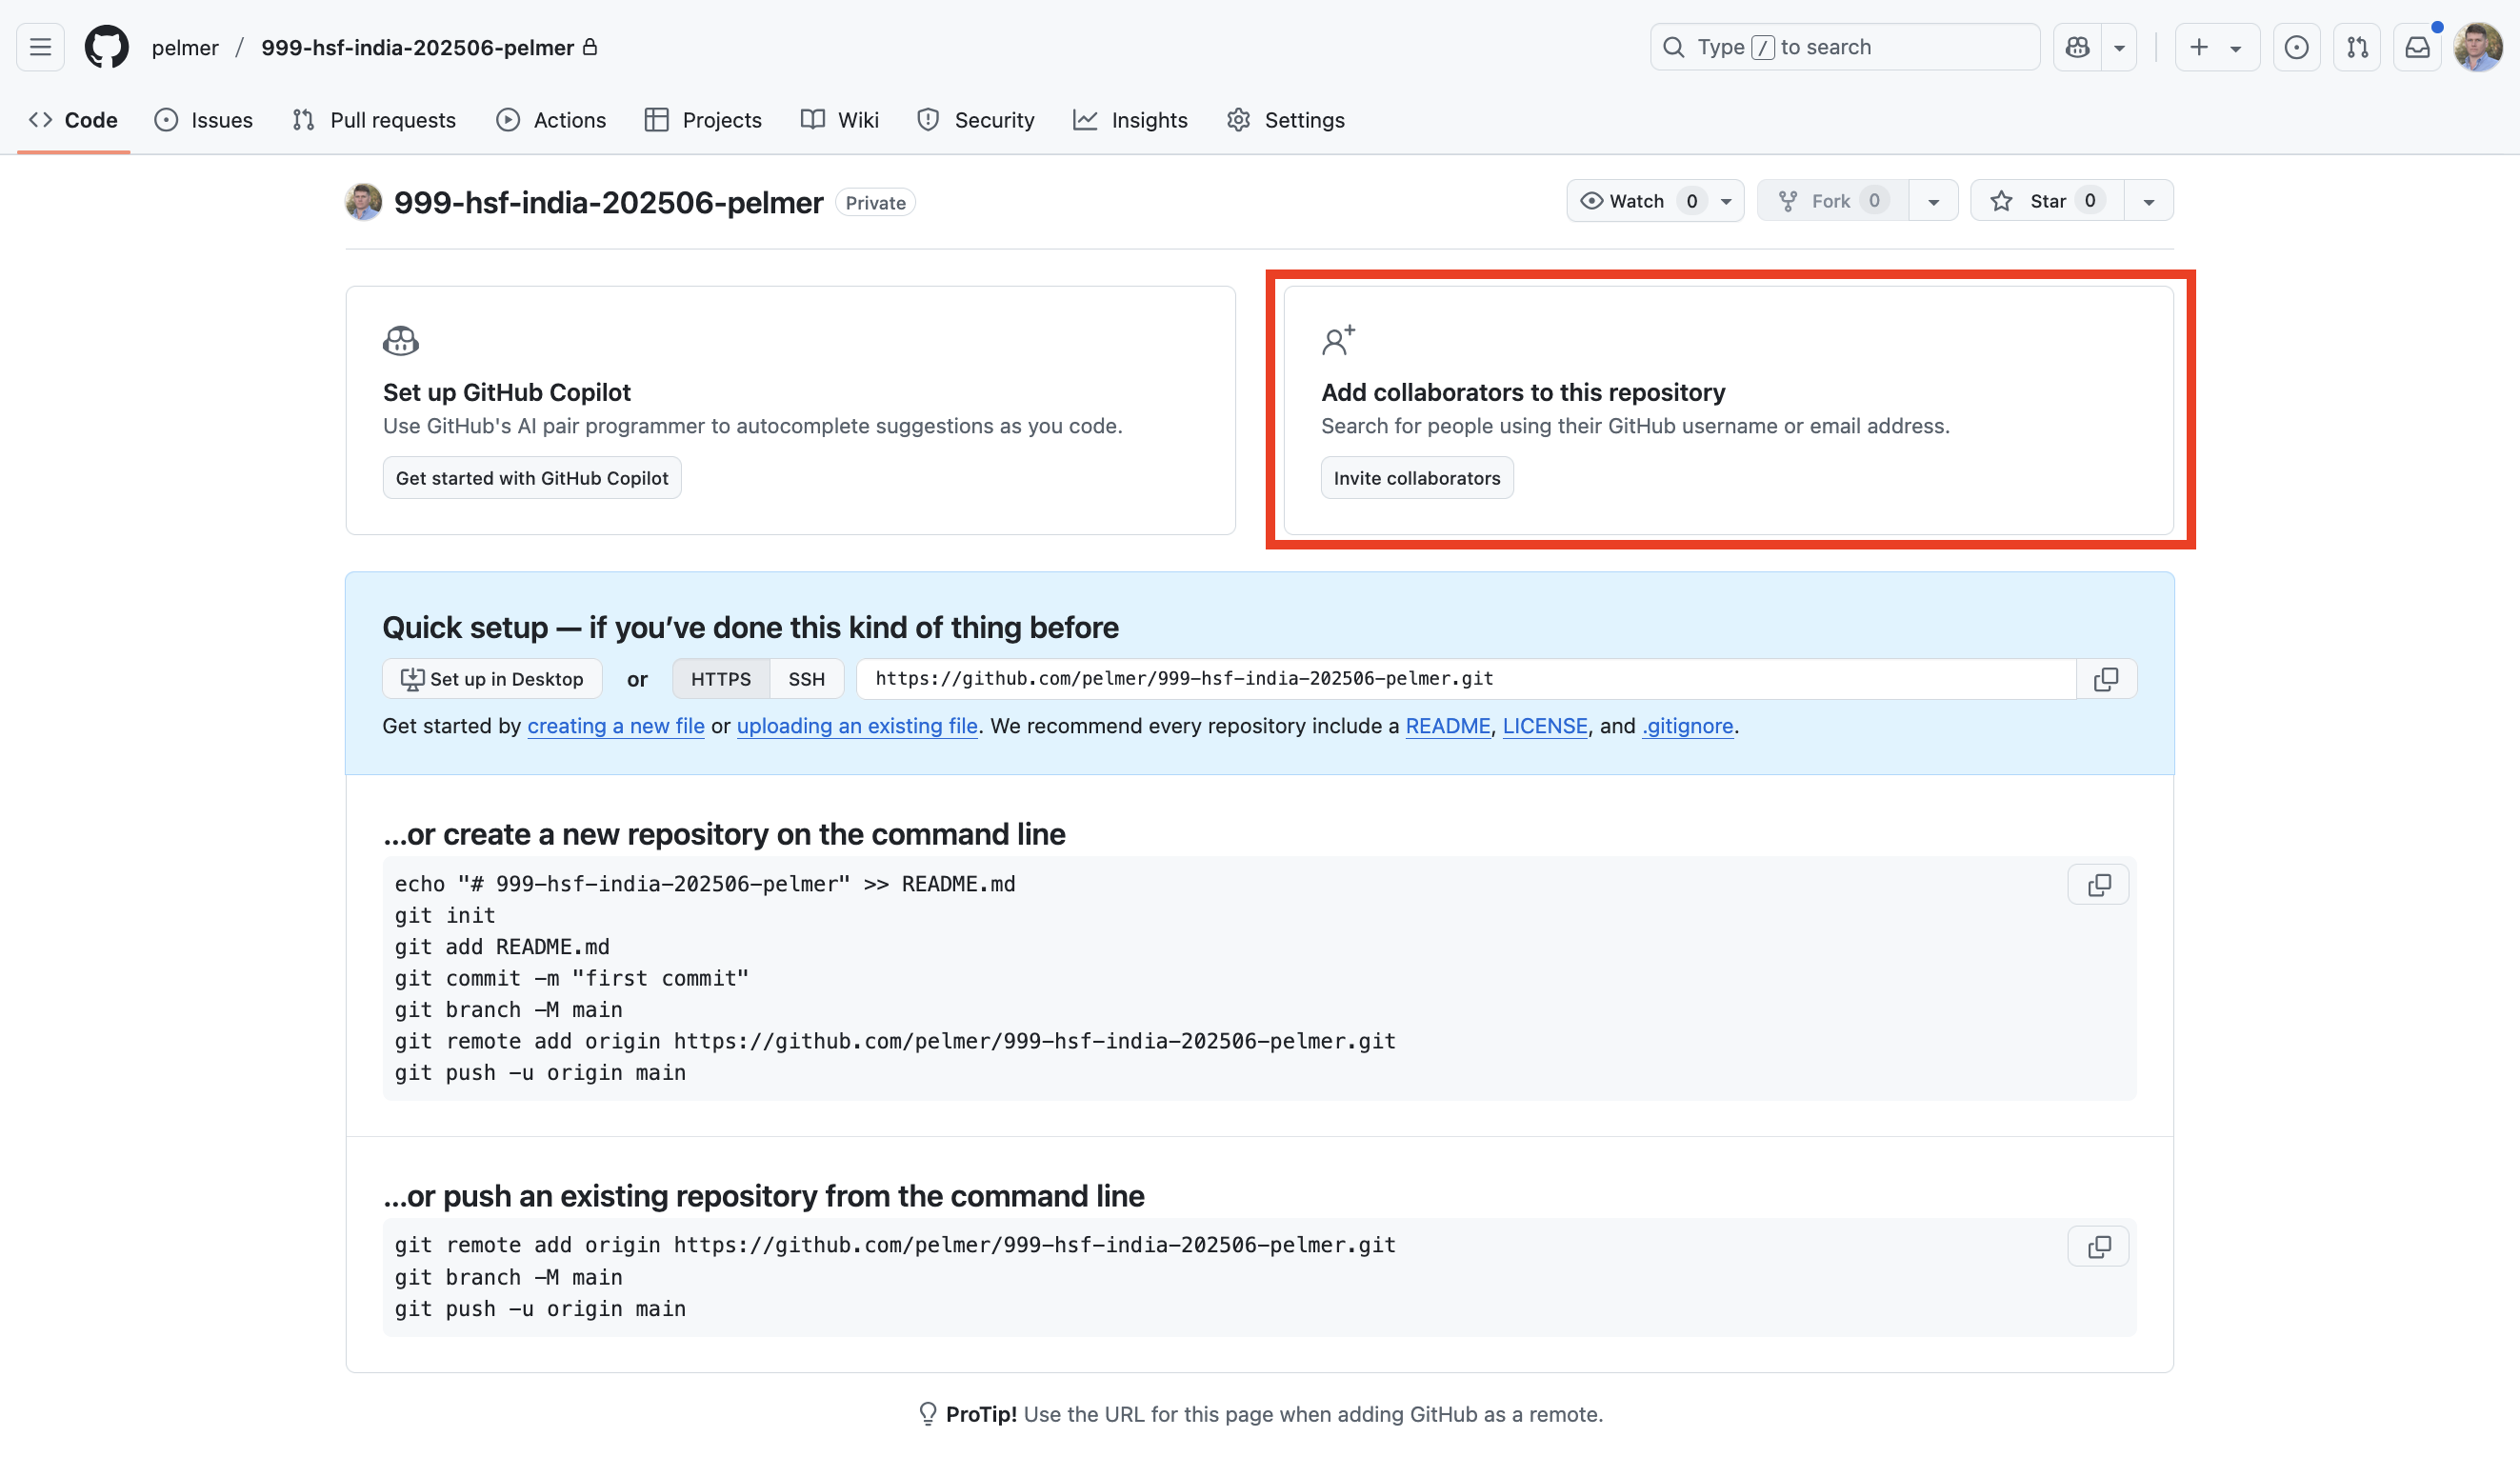
Add the github usernames as directed in the workshop session.

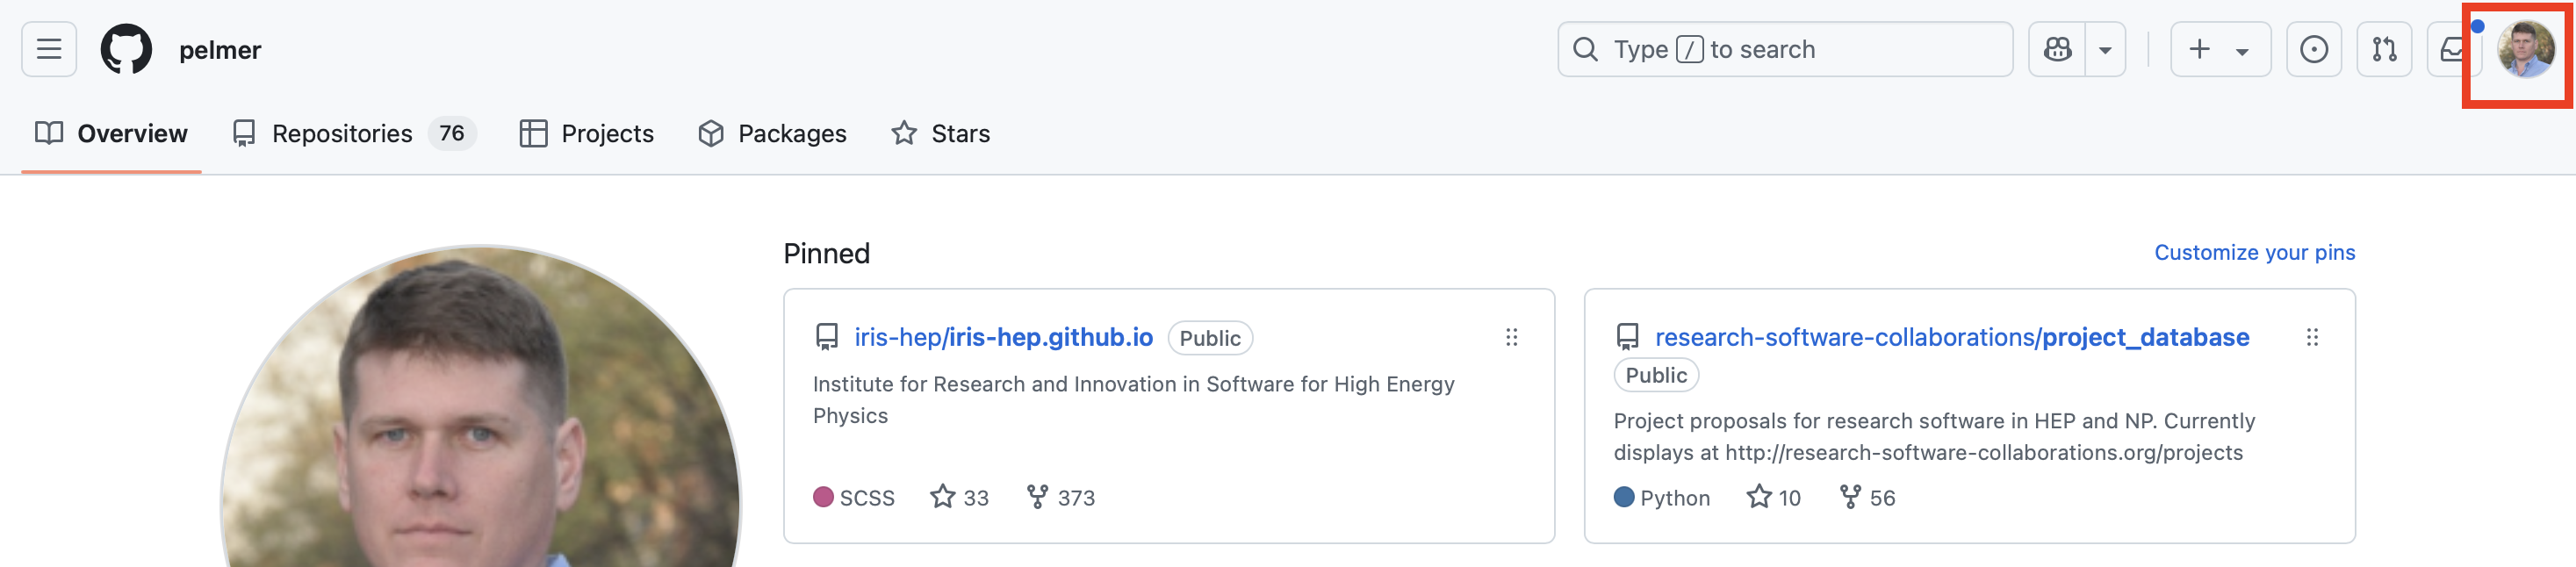
On your main GitHub page, click on your icon or photo in the upper right hand corner:
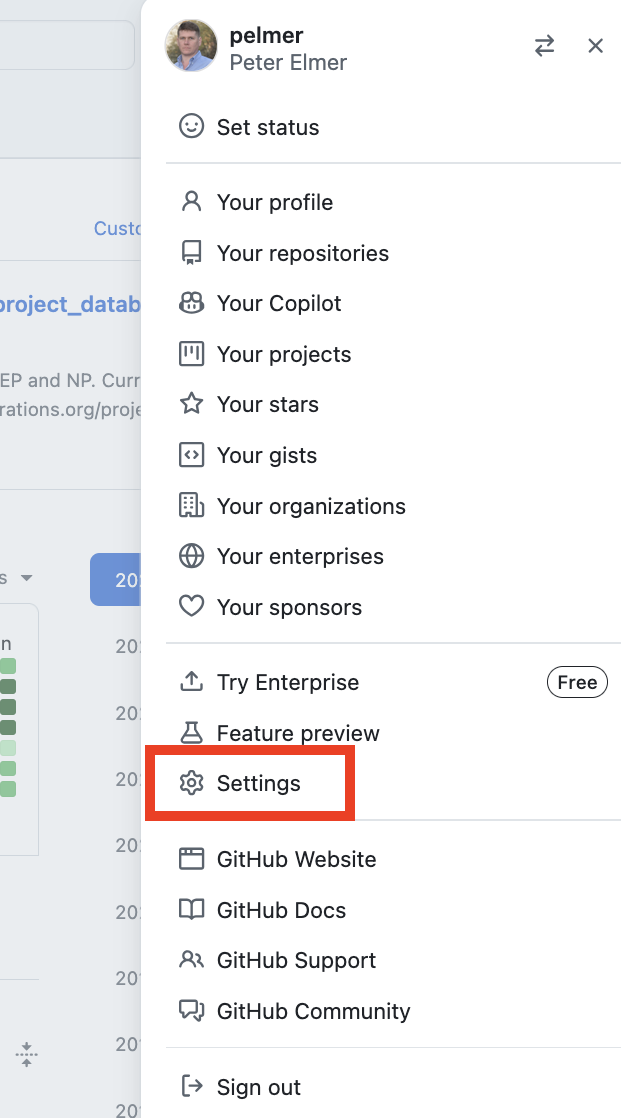
Select “Settings”:
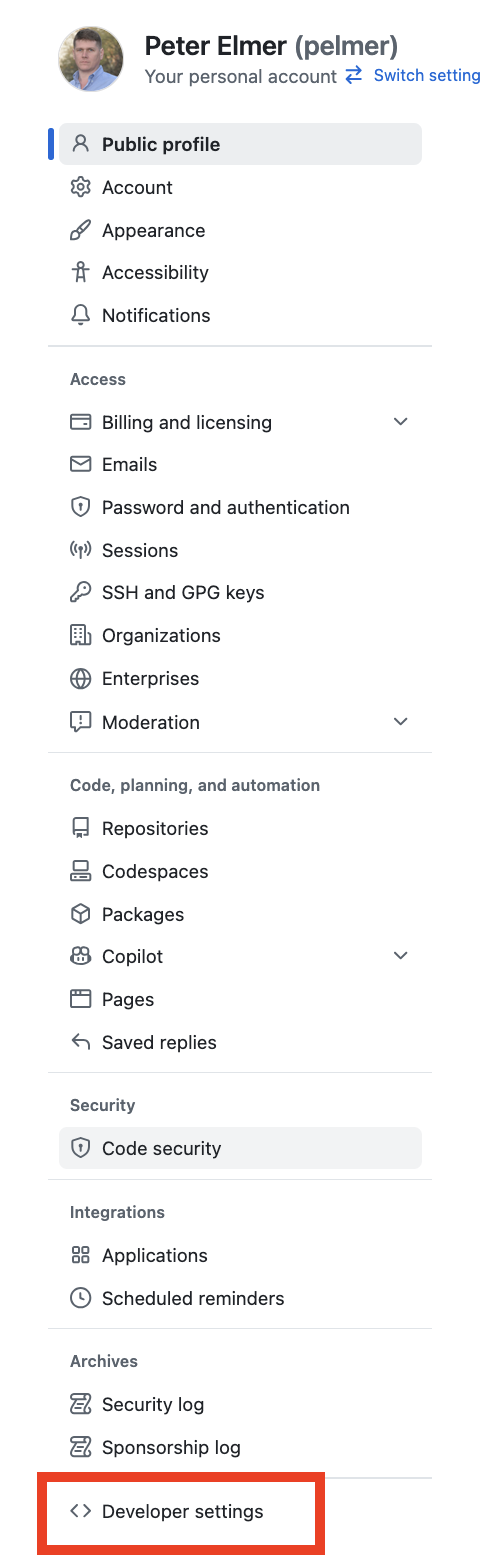
Select “Developer Seetings” at the very bottom:
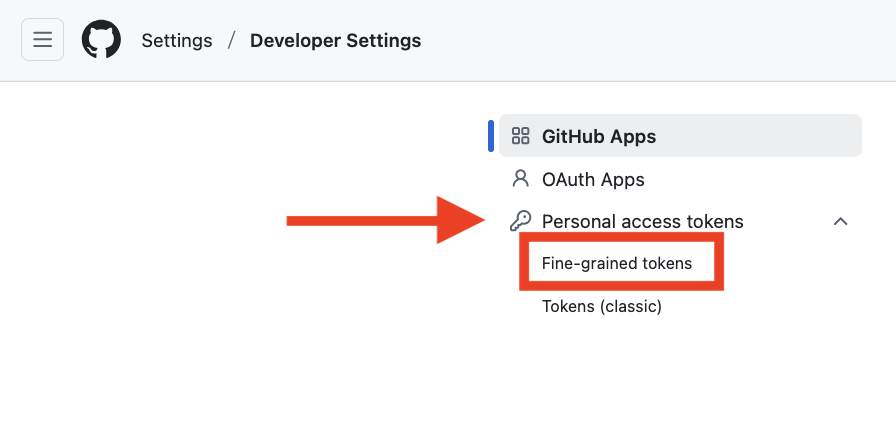
Click on “Personal Access Tokens” and it should open additional options. Choose “Fine-grained tokens”:
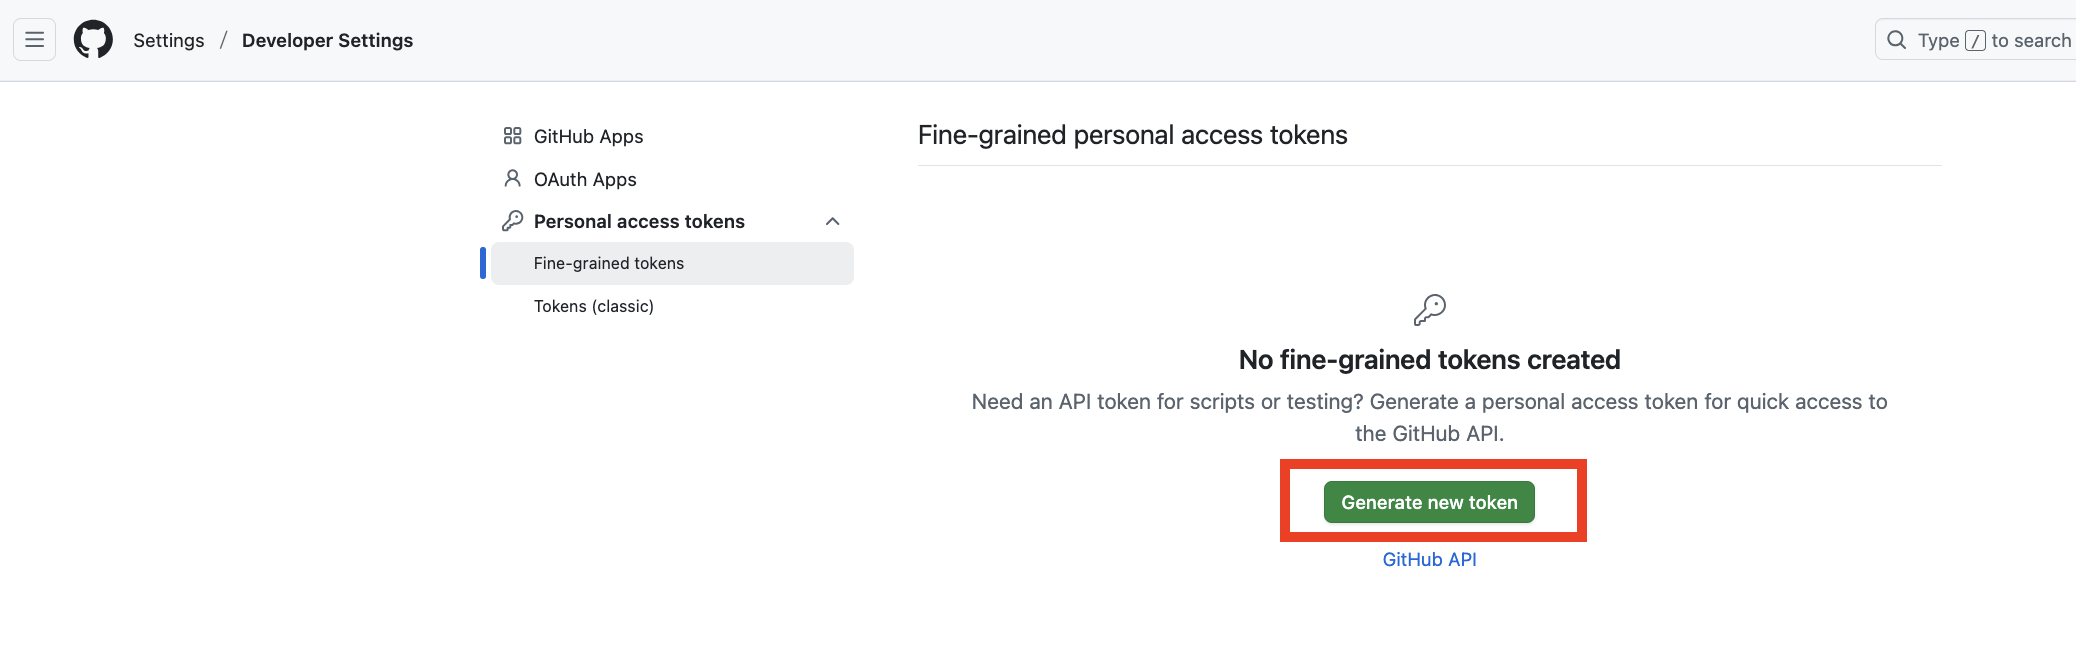
Click on “Generate new token”:
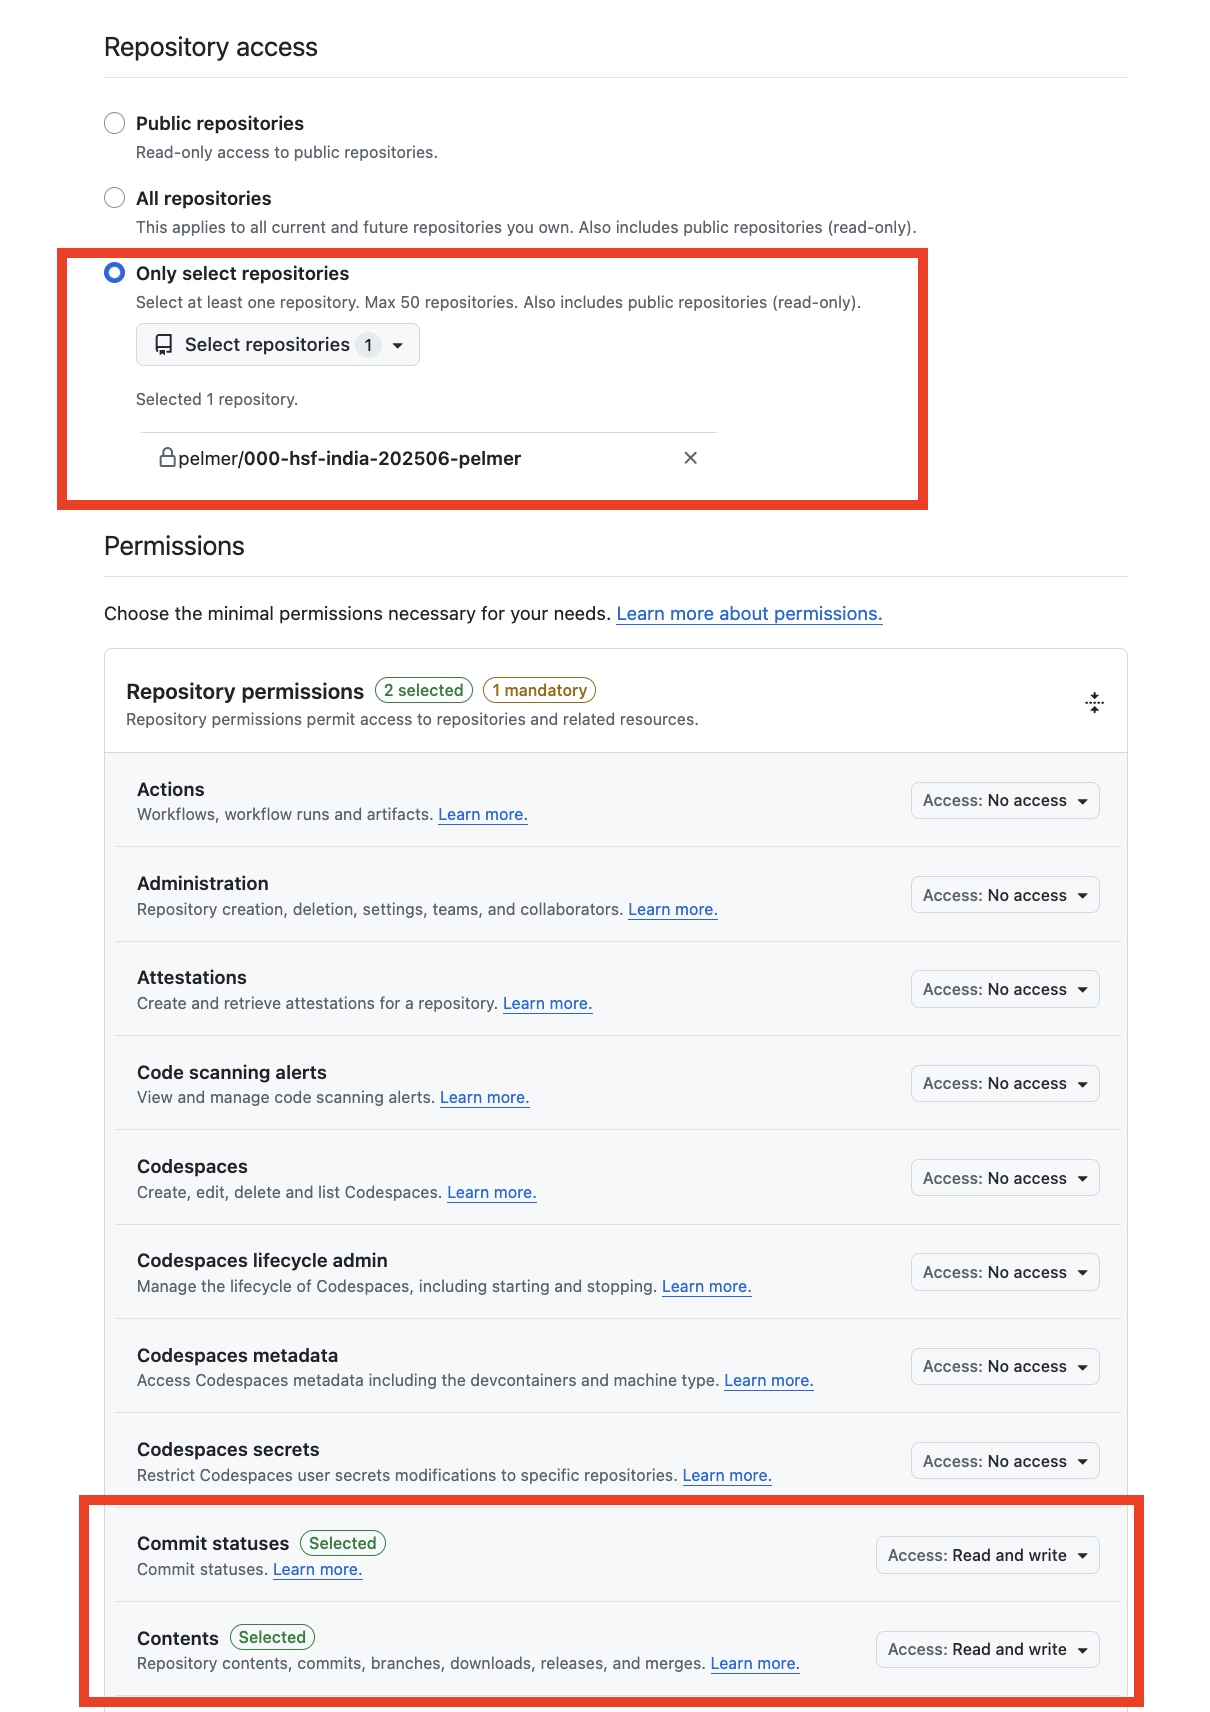
On the following page, choose “Only select repositories” and select the repository you just created. At the bottom of the page, choose “Commit statuses” and “Contents” and change both to “Access: Read and Write”. Hit “Generate Token” at the bottom.
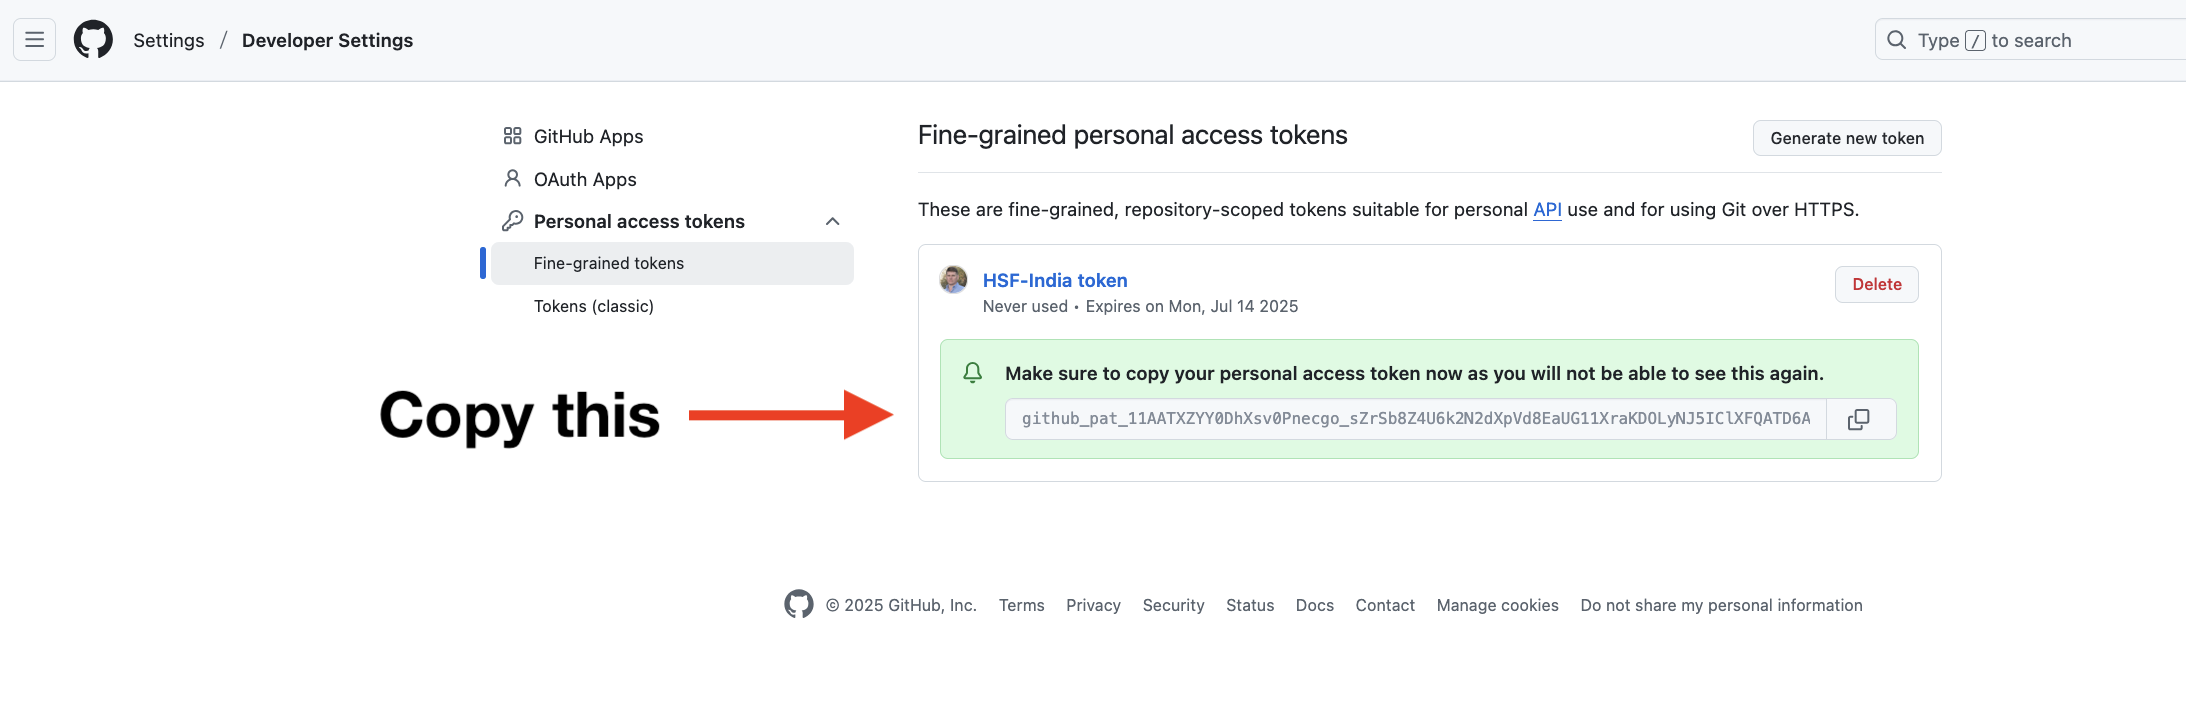
On the following page you will see the generated token. Copy that somewhere on your laptop as you will need to use it later to clone your repo: